Recently, I had the "joy" of changing a POP3 email account to IMAP. It was a worthwhile change for what the customer needed to do with their email, but, surprisingly, I found that the instructions for doing it were quite lacking in full details of the process. So, here we go. But first....
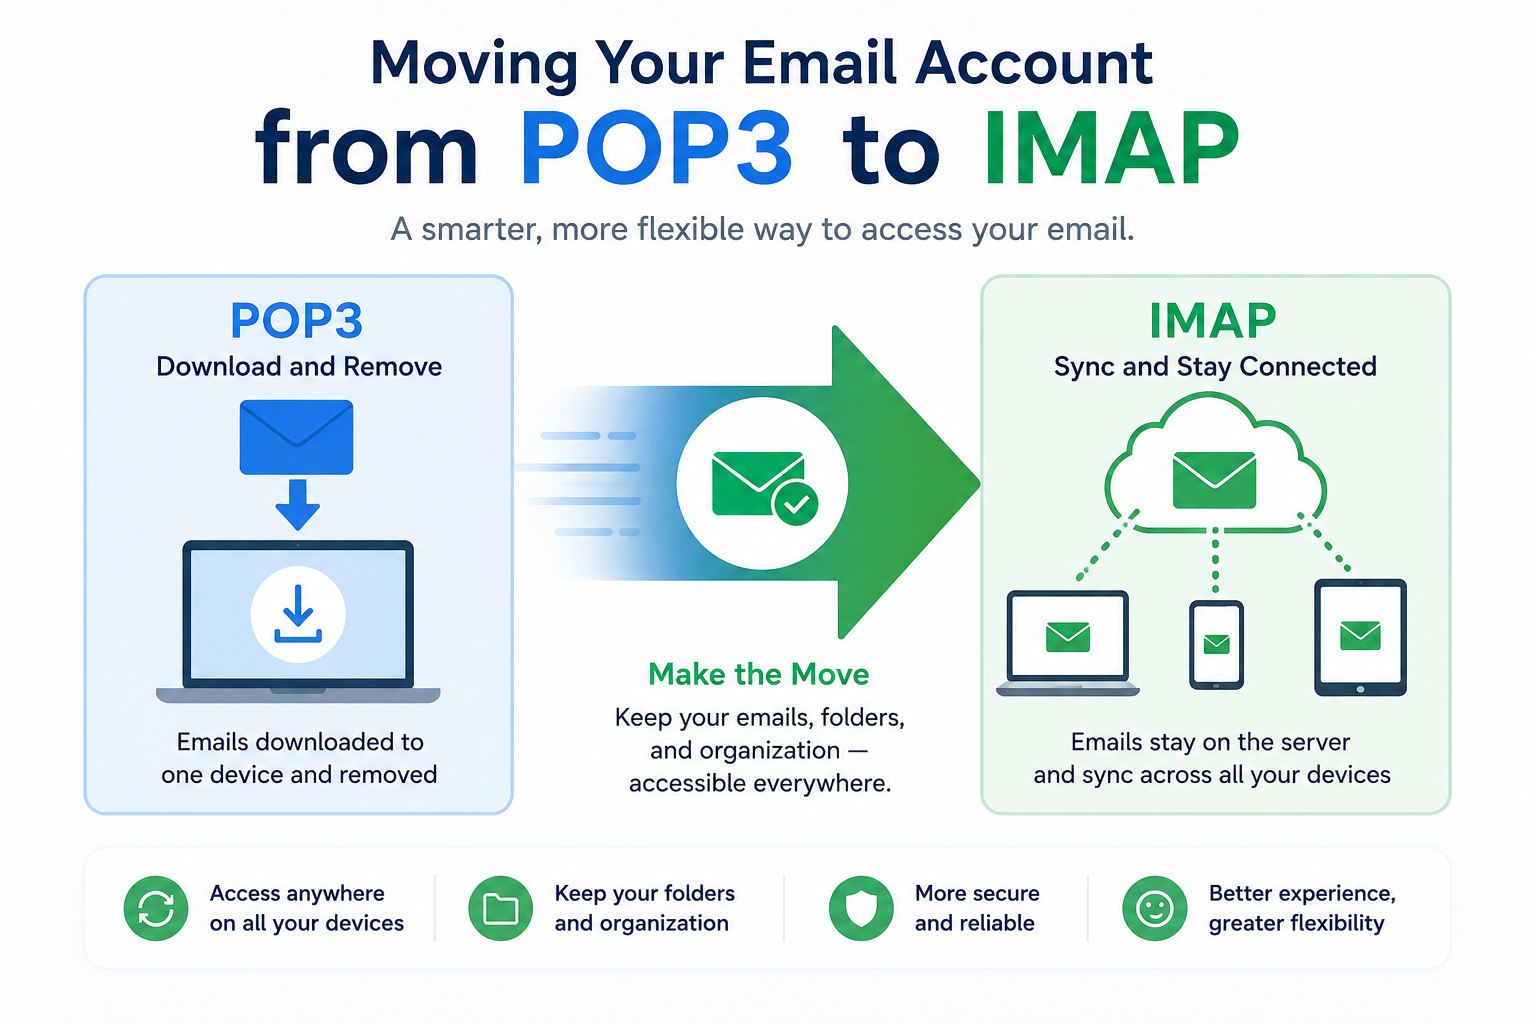
POP3 v IMAP - what's the difference?
POP stands for Post Office Protocol, whereas IMAP stands for Internet Message Access Protocol. So, what's the difference? Why would you use one over the other? Here's what Microsoft say about the 2 types on their site:
IMAP
IMAP allows you to access your email wherever you are, from any device. When you read an email message using IMAP, you aren't actually downloading or storing it on your computer; instead, you're reading it from the email service. As a result, you can check your email from different devices, anywhere in the world: your phone, a computer, a friend's computer.
IMAP only downloads a message when you click on it, and attachments aren't automatically downloaded. This way you're able to check your messages a lot more quickly than POP.
POP
POP works by contacting your email service and downloading all of your new messages from it. Once they are downloaded onto your PC or Mac, they are deleted from the email service. This means that after the email is downloaded, it can only be accessed using the same computer. If you try to access your email from a different device, the messages that have been previously downloaded won't be available to you.
Sent mail is stored locally on your PC or Mac, not on the email server. A lot of Internet Service Providers (ISPs) give you email accounts that use POP.
IMAP is great for people who aren't stuck in an office at the same computer and want to access email quickly and easily on the road while maintaining the email threads. POP3 is fine for someone who doesn't need that portability - for example, a person whose work is all performed in an office situation. Because all email is stored on the remote mail server, more storage is needed, and it costs more.
How to move your POP3 email to a new IMAP account
These instructions are for MS Outlook (desktop). While they will be similar for other mail clients, there will be variations on where to find various items.
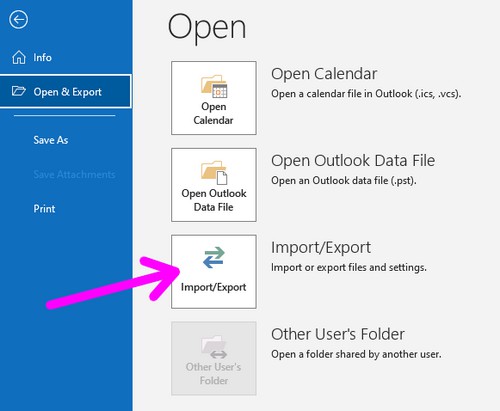
Step 1: Open Outlook and navigate to File | Open & Export |Import/Export. On the pop-up, choose Export to a file, click "Next", choose Outlook Data File (.pst), click "Next", choose the account name you want to back up and ensure Include subfolders is checked, click "Next", choose where you want to save the file and its name, then click "Finish".
IMPORTANT!! Before going further, I suggest you make a note of the folder structure your POP3 account has, as you will need this later on. The account I was working on had quite a number of folders, so I took screenshots so I could recreate it later.
Step 2: Navigate to File | Account Settings | Account Settings (yes, that's thanks to Microsoft for doing that....). Select the account you want to change (generally, you'll only have one account here), then click "Remove" and accept. Once deleted, you can add the "New" IMAP account. To set up the new account, you will need to know some important pieces of information.
- Your email address
- Your email address's password
- The incoming and outgoing mail server names (something like mail.yourdomainname.com)
- The incoming and outgoing ports (usually 993 for incoming and 465 for outgoing)
- Whether your account needs authentication to log on (usually it's yes)
Go through the setup process, and Outlook will check to make sure everything is good to go. If you enter something incorrectly, then Outlook will let you know, and it becomes a case of working through everything you entered to make sure you got it correct.

Step 3: At this point, most guides tell you to copy your existing mail folders over, and IMAP will sync the mail. Not true! You DO need to make new folders on the new account, but I was unsuccessful in doing this via Outlook. I logged into cPanel, then into the mail account I was working on, then Roundcube (the web-based mail client). Once in Roundcube, I was able to add the folder setup that was present in the old POP3 account (which I mentioned in step 1).
Step 4: When you return to Outlook, you should see the folder structure that you just created in Roundcube showing in Outlook. All the folders, which now reside on your mail server (unlike with POP3 where they reside on your computer) will be empty of mail. Let's fill them up!
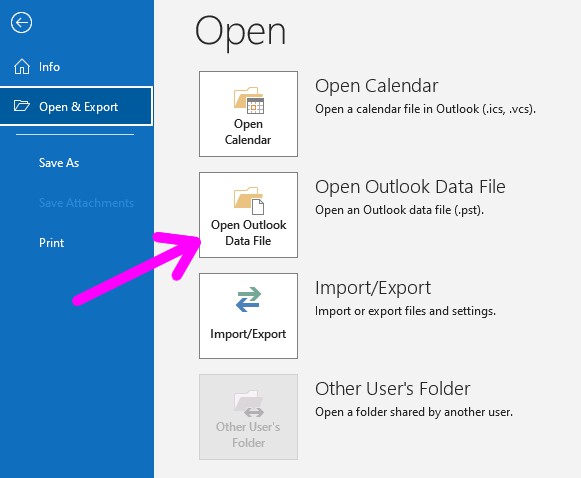
Open File | Open & Export | Open Outlook Data File. You'll need to navigate to where you saved your .pst file from Step 1, and click "OK". Now the new data file will show in the leftmost panel in Outlook. Expand all the folders, and you'll see all your emails. Open each folder by single-clicking on it. Highlight all the emails in the folder (do NOT highlight the folder!), then drag-and-drop onto the corresponding (empty) folder in the new IMAP account.
Once you've migrated the mail, you can right-click on the Outlook Data File you opened earlier in this step and choose Close 'name of Outlook file'.
Outlook will automatically upload all the emails as you drag them over to the new IMAP folders. If you go back to Roundcube, you can see them all, now on the mail server instead of your computer. Now you can enjoy portability for your email, on any device, from anywhere. And the email threads are maintained. The one downside is IMAP's calendar. Unlike POP3, it lacks categories and coloring them. There is a very ugly, cumbersome workaround, but it's more trouble than it's worth. However, if, like most people, one color is OK, then you're golden.